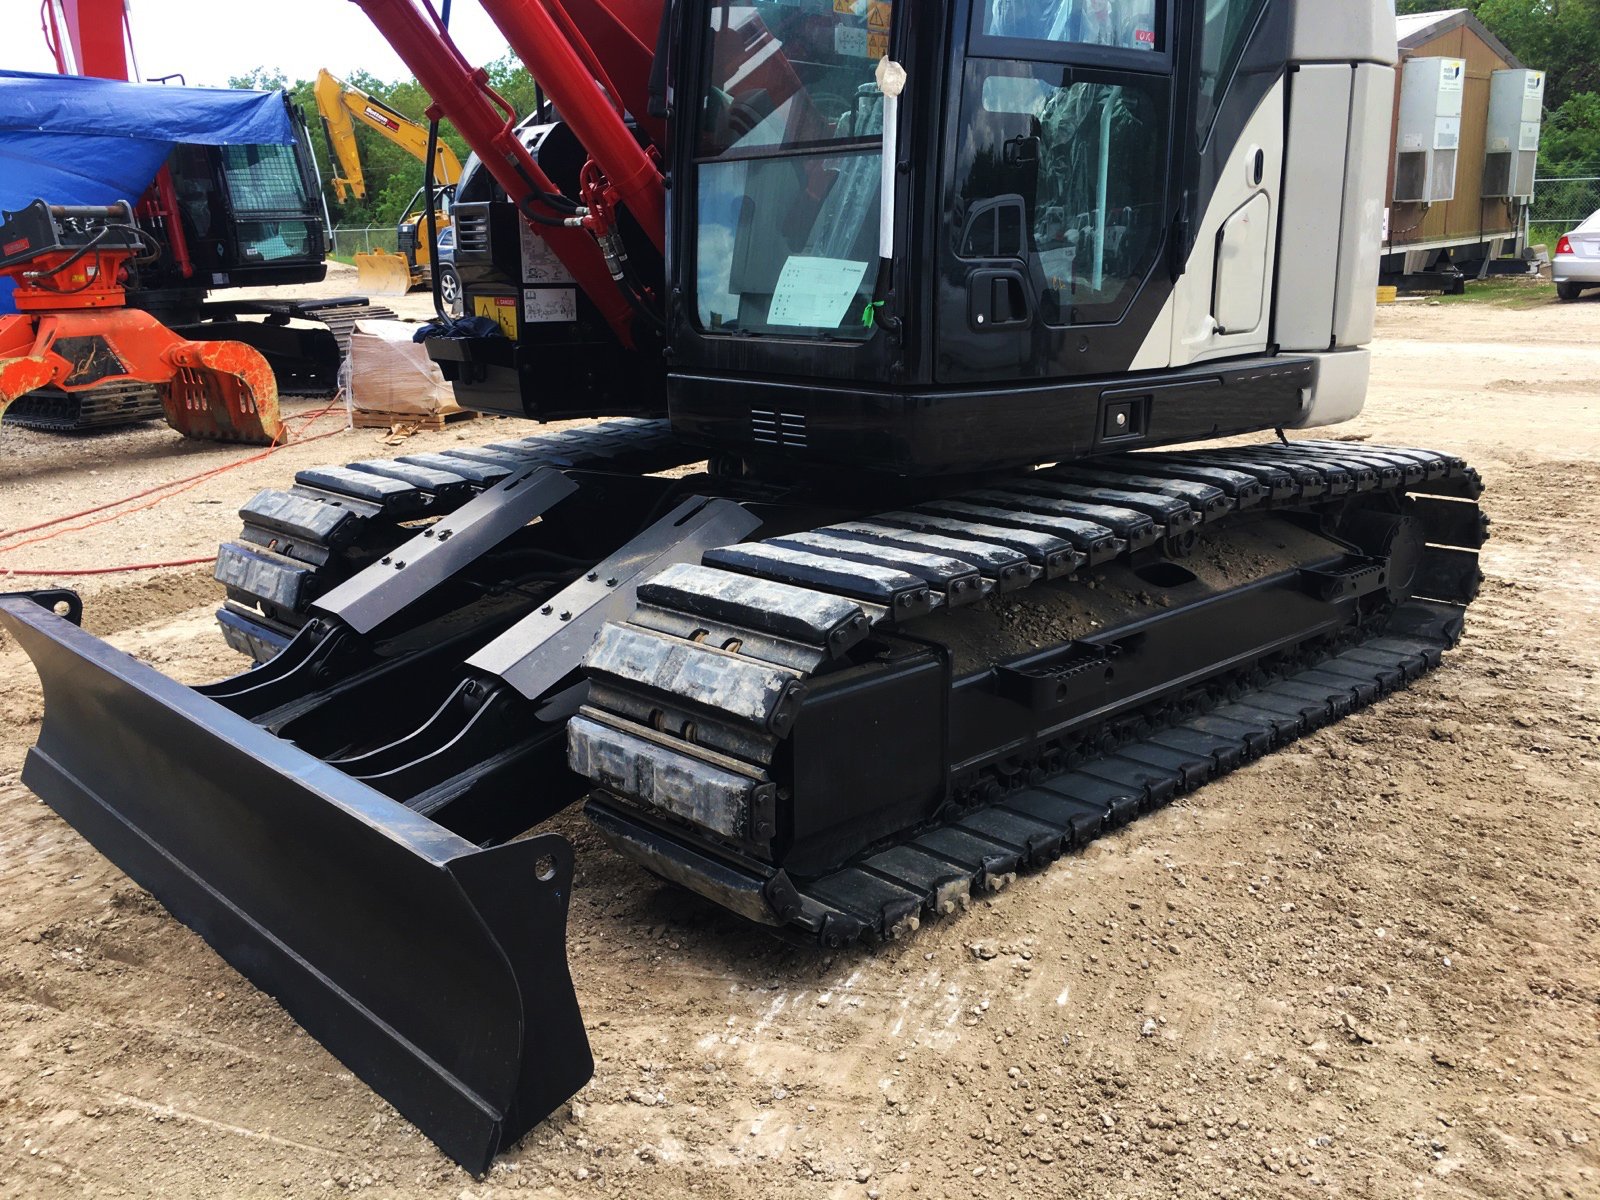
OVER THE TIRE TRACKS create two machines in one for more control and ease of access. All parts are replaceable and the modular installation method enables quick mounting and easy replacement. Follow these steps to ensure installation is done correctly. Be sure to watch the installation video at the end of the page for a great visual guide! Call our product specialists at 888.888.1248 if you have any questions during installation.

- Ratchet Strap
- Hammer
- Wrench 10mm
- Allen Key 10mm
- Ruler or Measuring tape
STEP 1
Lift boom up and ensure safety is engaged.
STEP 2
Lay track out in front of the machine and drive machine onto tracks until rear tire is seated.
STEP 3
Hold track against rear tire and drive forward onto the middle of the track.
STEP 4
Lift track over the front of the tire and ensure track is snug around the tire.
STEP 5
Double check the mounting direction of track is correct. The small arrows should be facing towards the front of the machine.
STEP 6
Put the joining pin in and hammer into place. You may need to use a ratchet strap to pull ends of the track together while you do this.
.jpg?width=318&name=OTT1016(3).jpg)
STEP 7
Roll the machine forward and tighten the joining pin.
STEP 8
Check for correct tension – the sag should be 50-70mm.
If you are unsure how to check for tension, use a straight edge that is long enough to rest on each wheel and use a ruler or tape measure to measure the distance between the top of the OTT track and the bottom of the straight edge.
Summit Supply is the industry leader for quality construction wear parts. Our mission is people first and we give unmatched service to our customers. Our products ship from 6 different warehouses around the country and all standard orders ship free. Explore our product lines or give us a call at 888.888.1248 with any questions.
#summitsupply #rubbertracks #wearparts #machinery #construction #constructionequipment #summittracks #overthetiretracks


